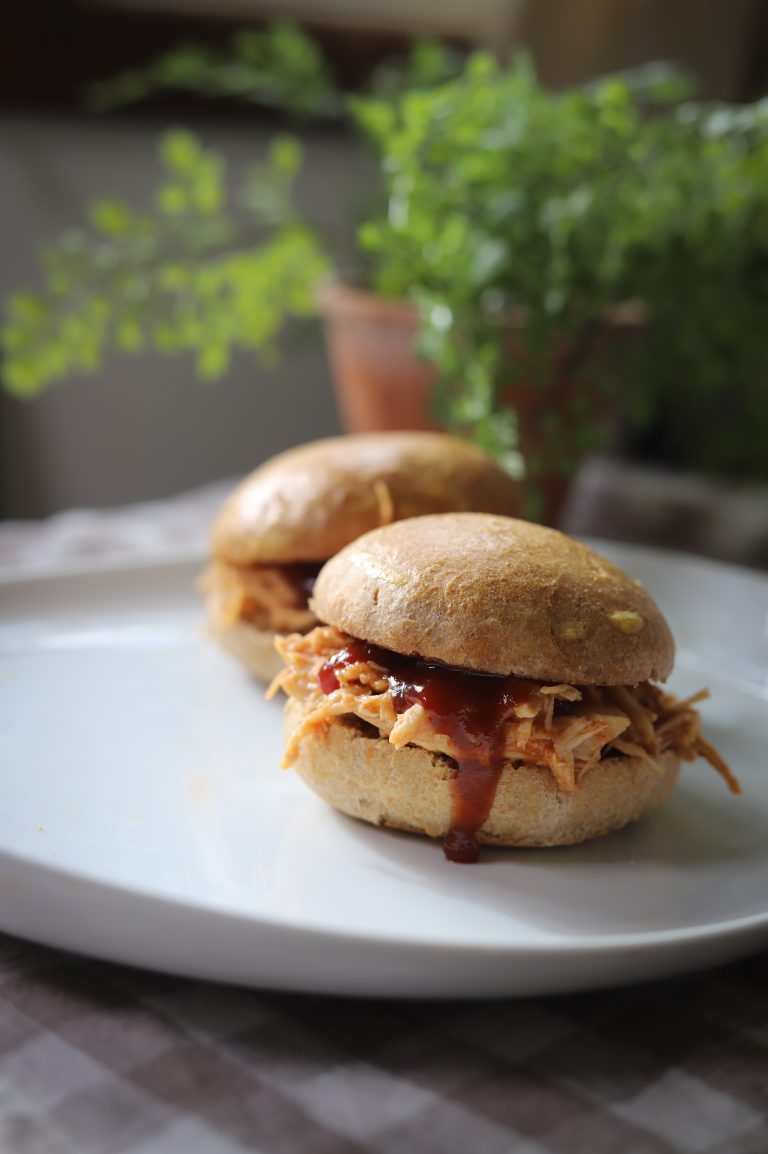
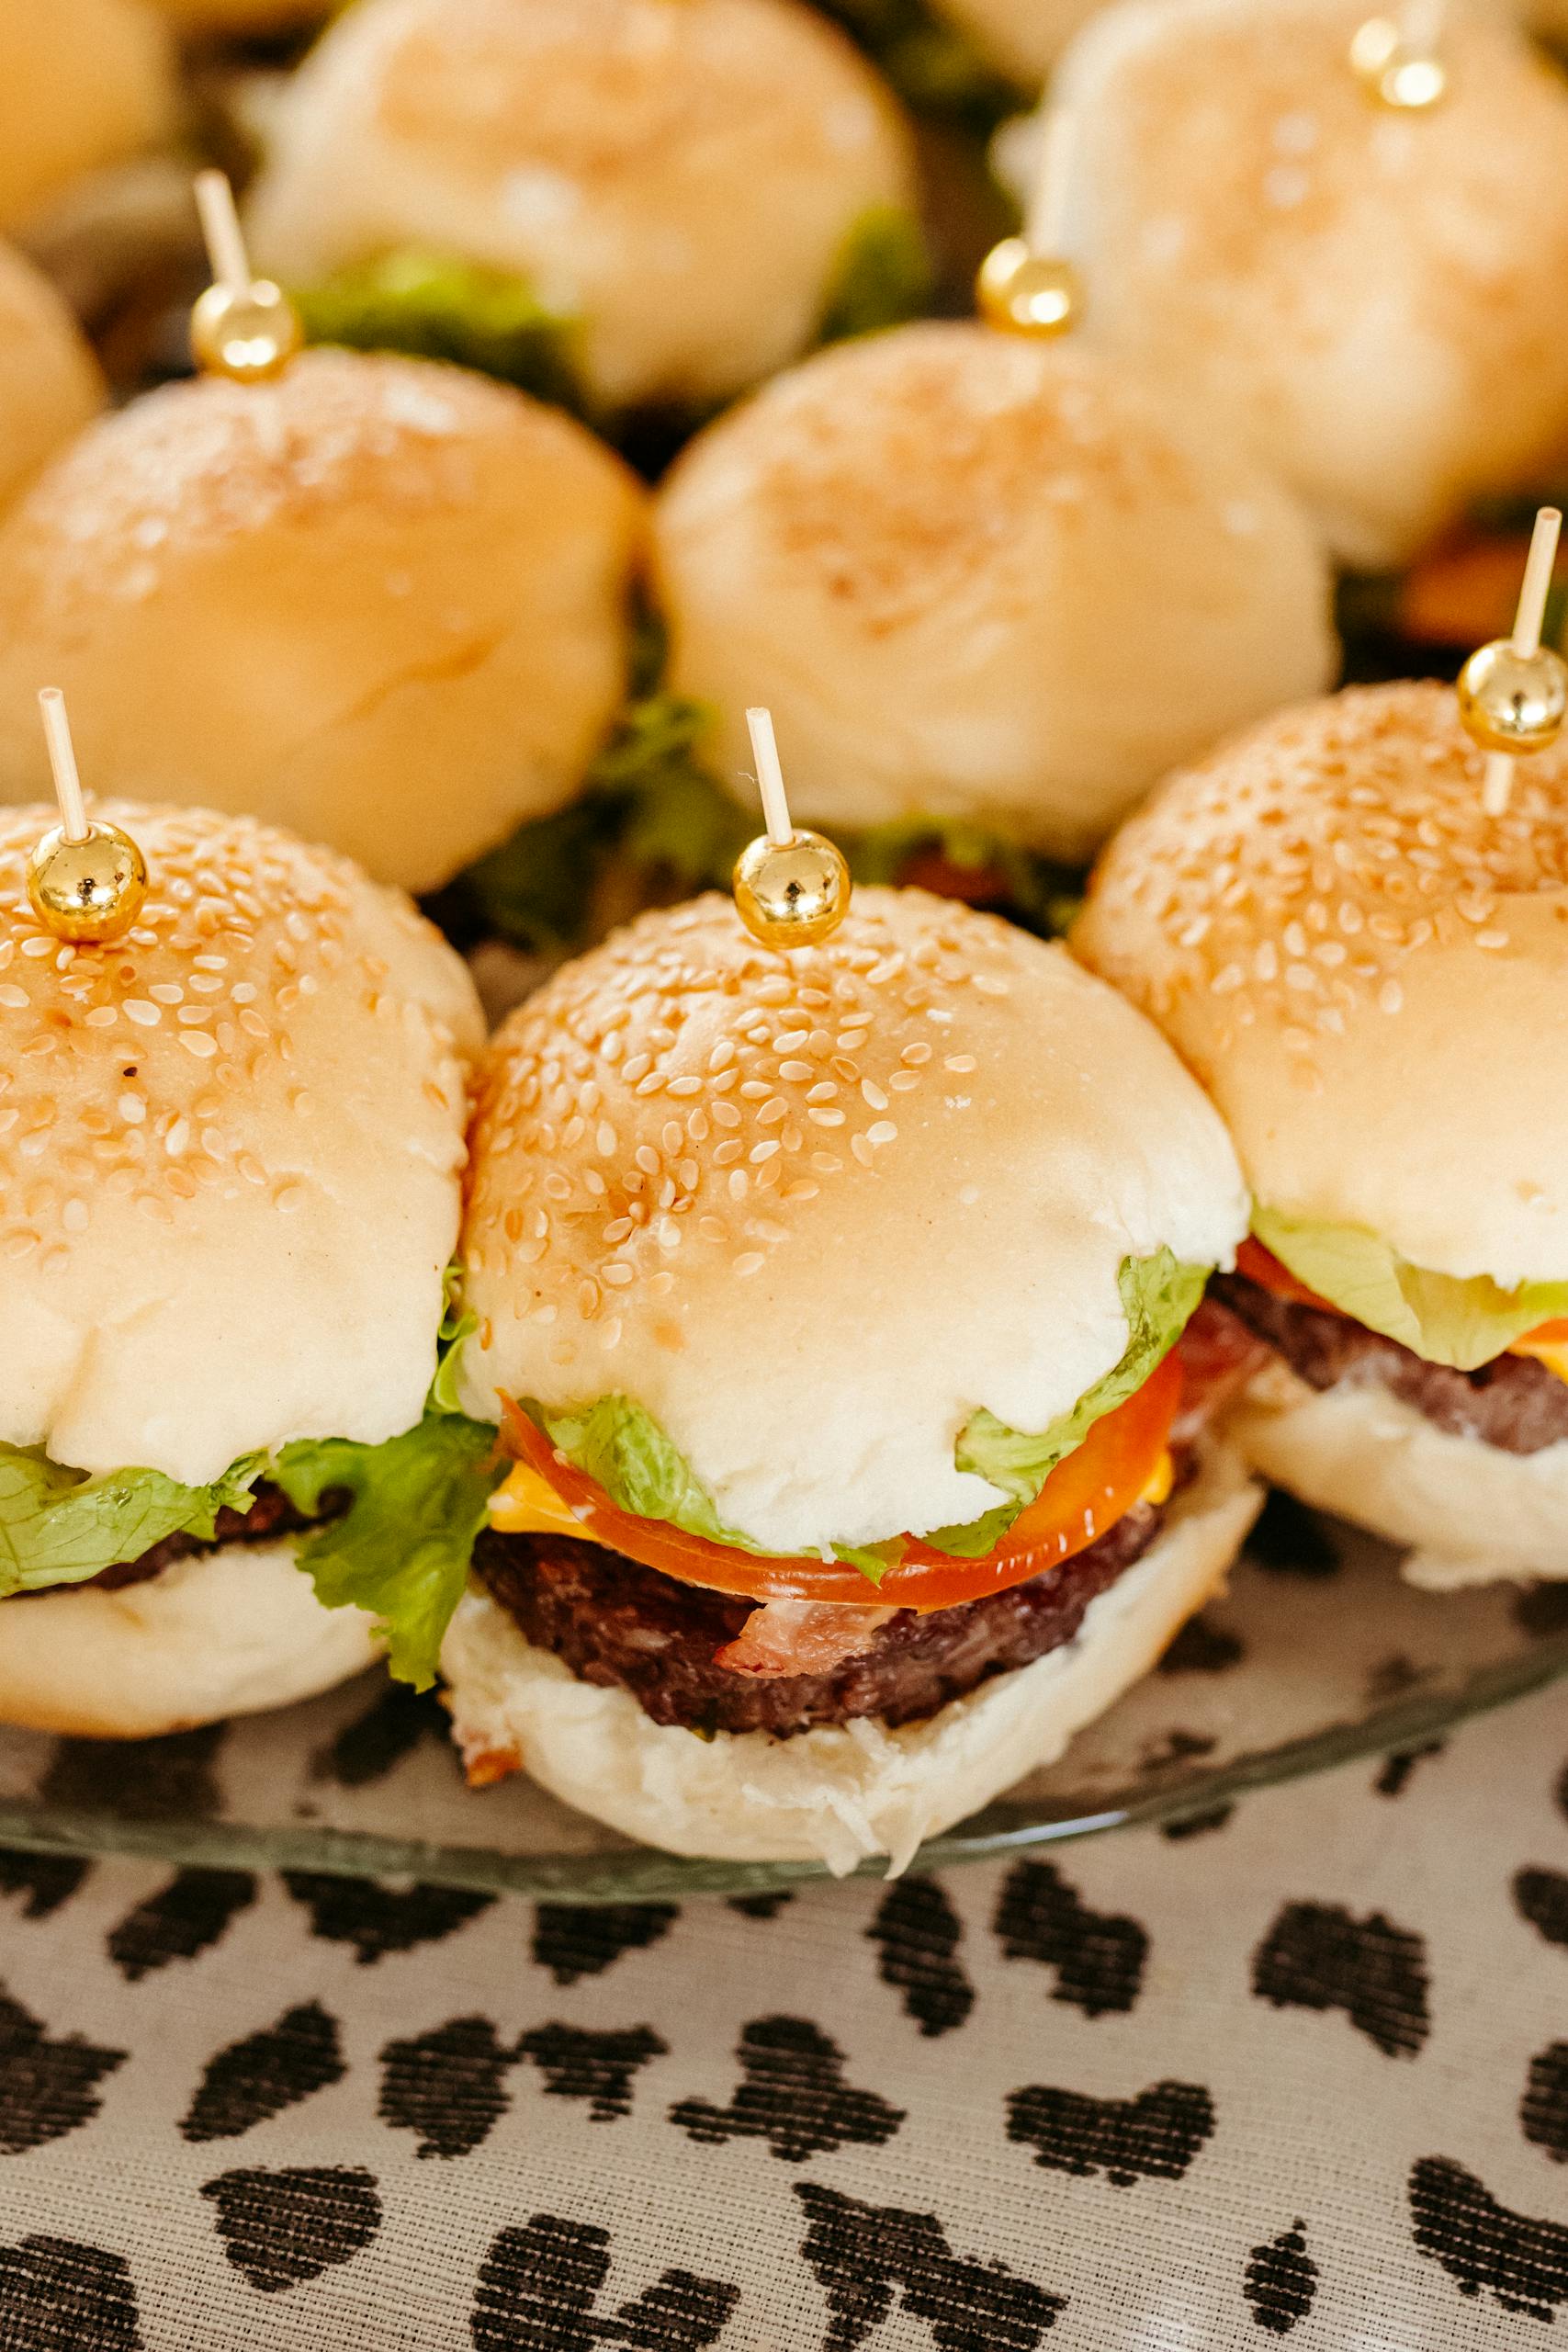
Mini Slider Buns
If you’ve got a house full of hungry kids, a party coming up, or you just want the perfect little bun for sliders, these are it. Soft, slightly chewy, and easy to whip up—especially if you’re using freshly milled flour. I use a blend of all-purpose and kamut to keep the texture light but still nourishing and flavorful.
Why I Love This Flour Blend
Kamut keeps the buns tender and adds minerals and protein, but blending with all-purpose flour keeps the texture airy and perfect for sliders. You get the best of both worlds—nutrition and that classic chew.
If you’re just getting into fresh milling, I cannot recommend the Nutrimill or Bosch enough. They’ve paid for themselves in saved trips to the store and food that just tastes real.
What You’ll Need
Flour
I use a blend of organic unbleached all-purpose flour, freshly milled kamut

Equipment
Mixer, pastry brush, kitchen scale
DAIRY
Fresh, room-temperature egg, warm milk, softened butter
Salt AND SUGar
sugar or honey, salt
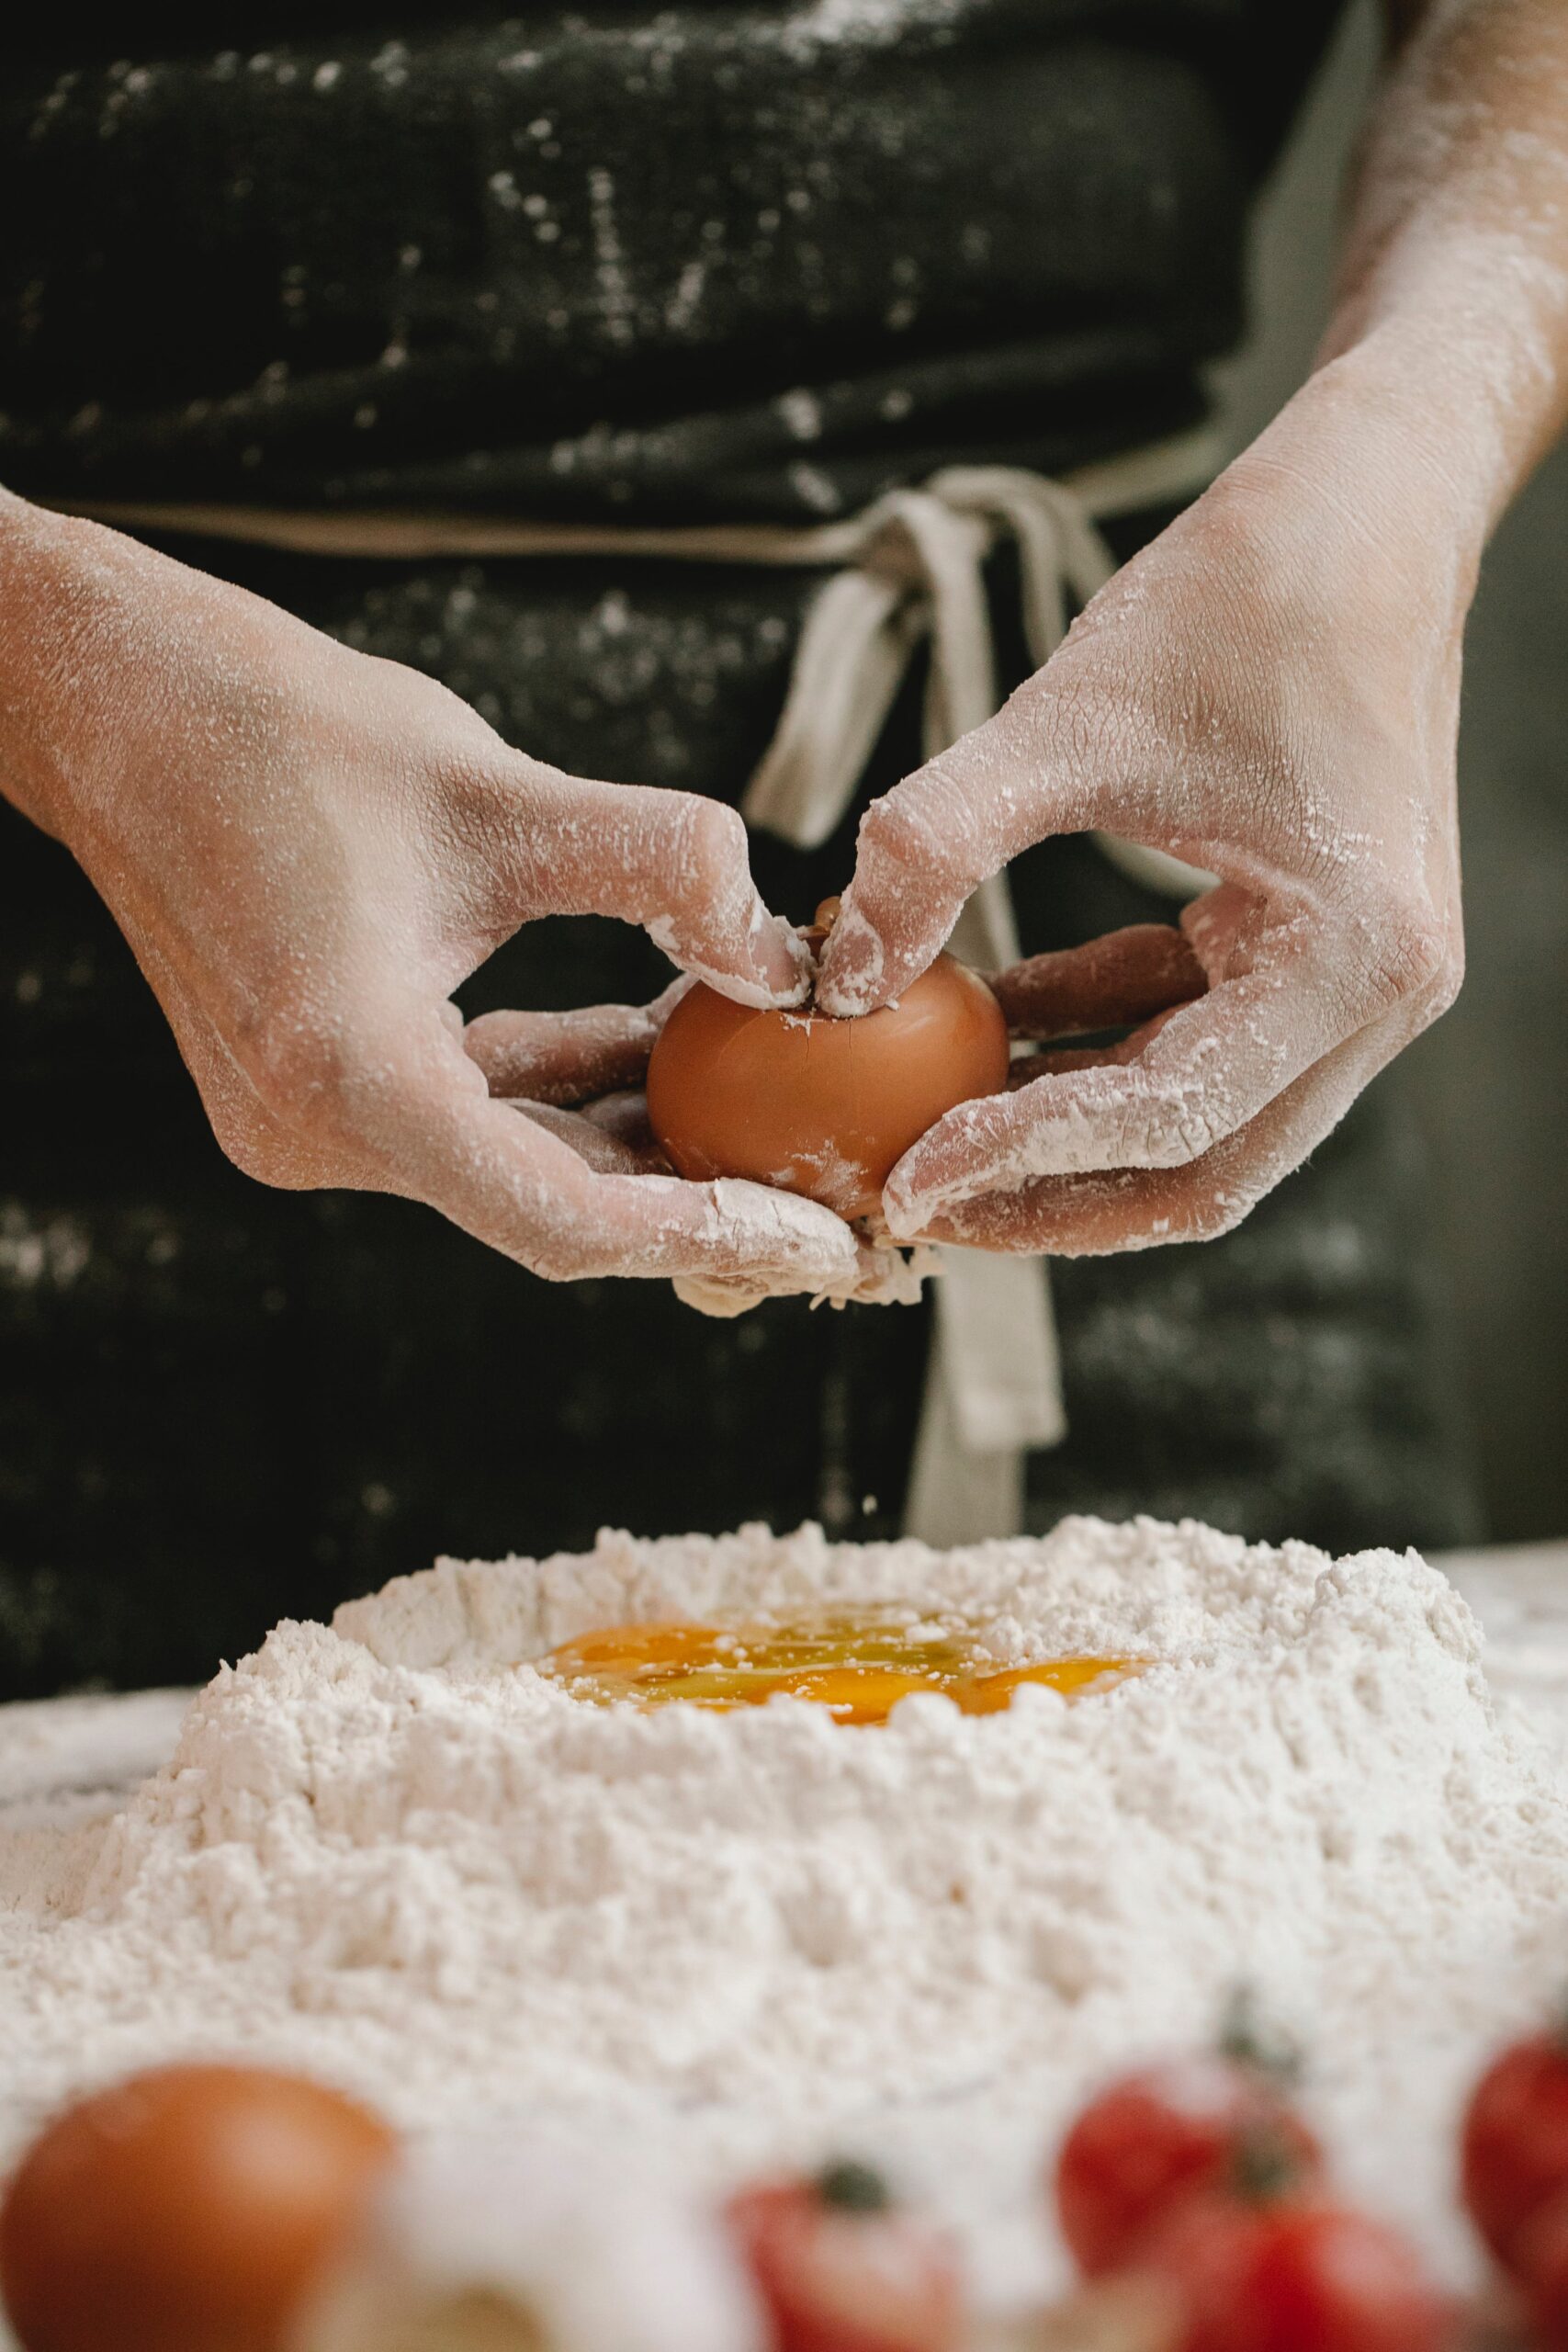
Step 1: Activate the Yeast
- Activate: Mix warm water and honey, then sprinkle in the yeast. Let it bloom 5–7 minutes until foamy.
Step 2: Mix Dough
- In a large bowl, whisk flours, gluten vital, sugar or honey, and salt.
- Add yeast mixture, egg, and softened butter.
- Mix until a shaggy dough forms.
Step 3: Knead
- Knead by hand or mixer 8-10 minutes until smooth and elastic. (Kamut is thirsty– if dry, add 1-2 tbsp extra milk.)
Step 4: First Rise
- Place in a greased bowl, cover, and rise until doubled. Time will vary based on temperature in kitchen. Approximately 60-75 minutes.
Step 5: Shape Slider Buns
- Punch down dough. Divide into 30-35g pieces (about a golf-ball size).
- Roll into smooth balls and place on parchment-lined baking sheet, spaced slightly apart.
Step 6: Second Rise
- Cover loosely and let rise 30-40 minutes, until puffy and touching.
Step 7: Bake
- Brush with egg wash. Sprinkle sesame seeds if desired.
- Bake at 375F for 12-15 minutes until golden brown.
Step 8: Cool
- Cool on a rack. Best eaten same day, but freeze beautifully.

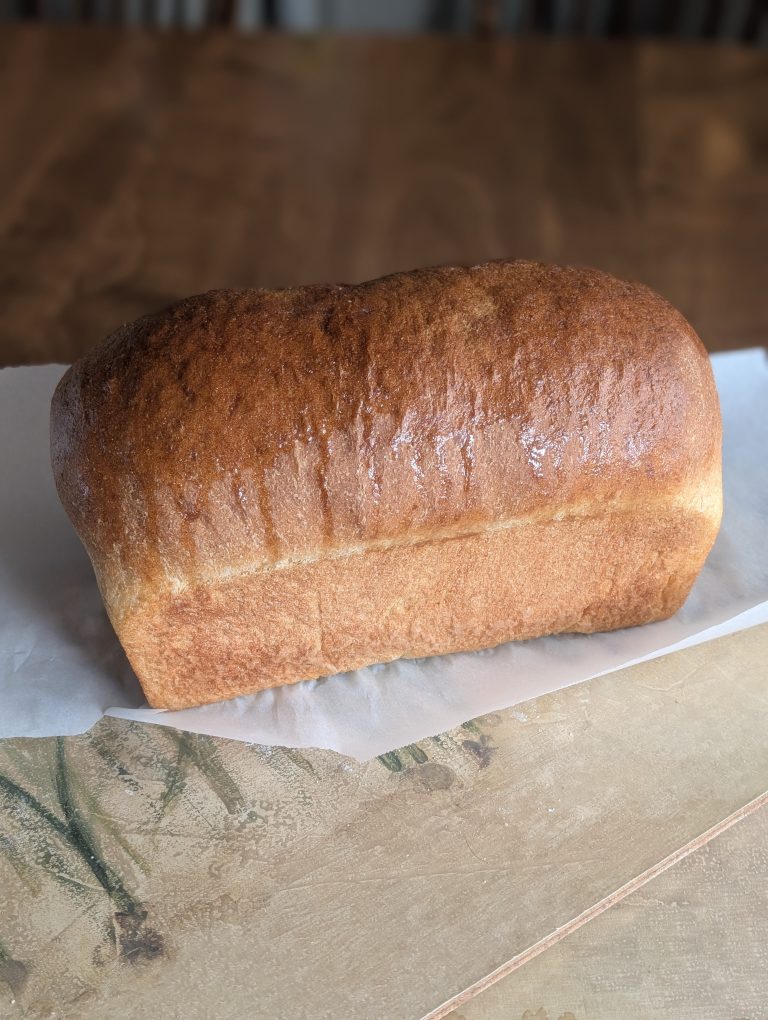
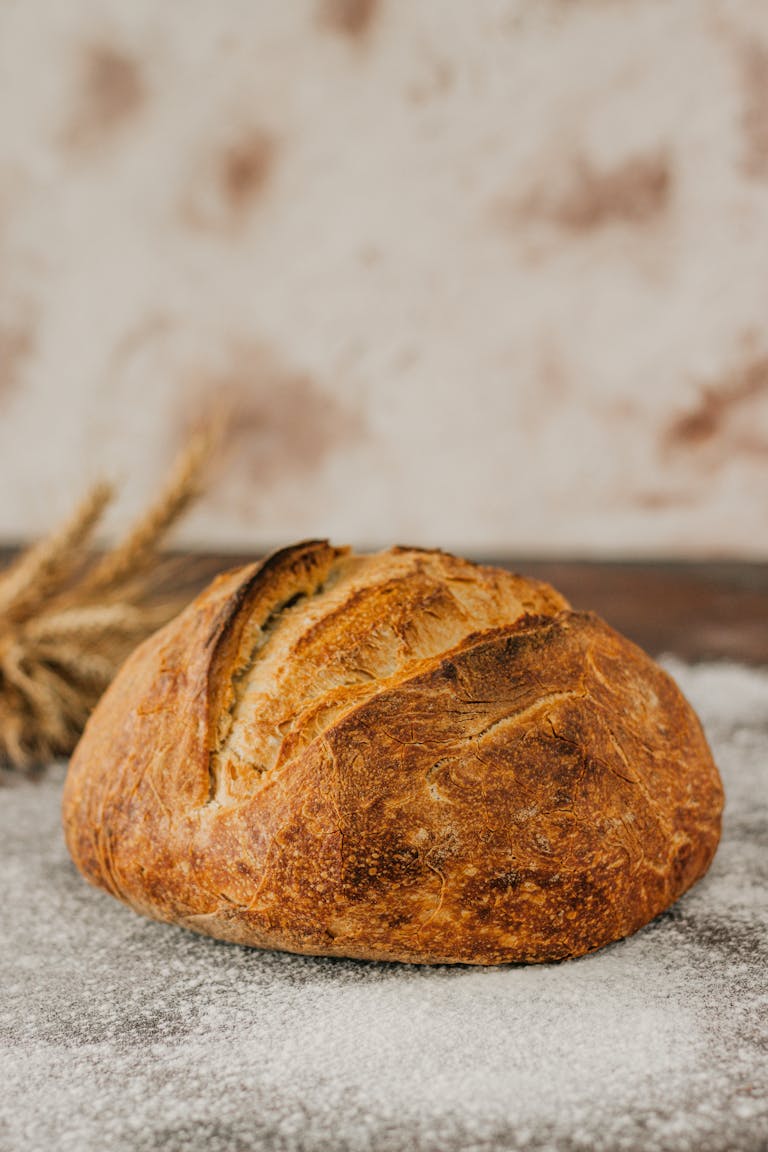
Heritage Sourdough Loaf (two-pan loaf method) 2 Loaves
Equipment
- Grain mill if using whole berries
- Digital kitchen scale
- Measuring cups and spoons
- Mixing bowl or stand mixer
- Dough hook or sturdy spoon
- Clean kitchen towel or plastic wrap
- Cooling rack
Ingredients
- 342 g freshly milled hard red wheat flour 38%
- 558 g all-purpose flour 62%
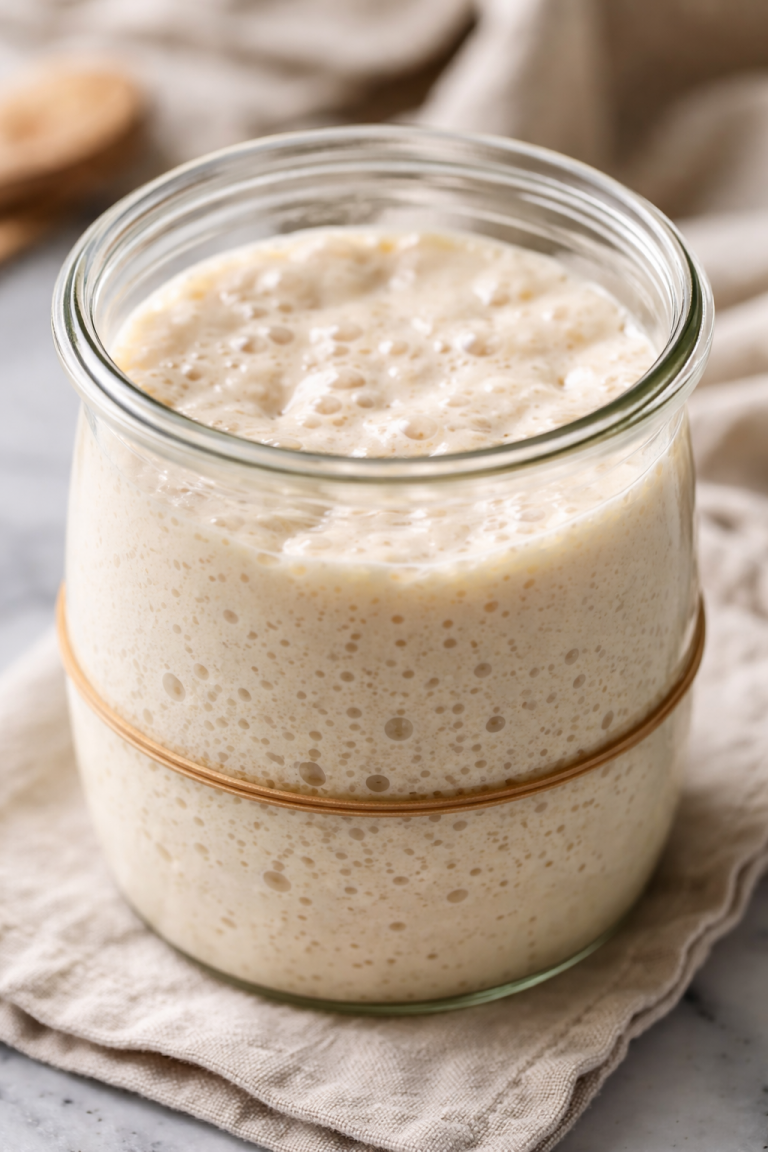
- 280 g active sourdough starter 100% hydration
- 500-525 g water
- 18 g fine sea salt
- 8-12 g vital wheat gluten
Instructions
Autolyse for softness:
Autolyse (don’t skip for lean dough) Mix all flour + 470 g water. Rest 45–60 minutes. This is what gives you softness without fat or sugar.
Mix:
- Add: Starter, remaining water (as needed), and vital wheat gluten if using. Mix until cohesive and elastic. Rest 20 minutes, then add salt and mix until smooth.
Bulk Fermentation:
- 6-12 hours bulk fermentation. Do 3-4 sets of stretch and folds in first 2 hours. Bulk target: 50% rise, bubbles along edges, dough feels aerated but still strong. It will not look like plain flour. Do not push to double.
Pre-Shape:
- Divide into two 790-820g pieces. Gently degas. Shape and create tension. Let rest for 20-30 minutes.
Final Shape
- Final shape with light tension. Don't over-tighten because hard red will fight you. Put into loaf pan and refrigerate for 8-24 hours.
Bake:
- Preheat 500℉. Create steam in oven. Score and mist prior to putting into oven. Place lid on top. Bake for 30 minutes. Remove lid after the 30 minutes and cook at 425℉ for 15 minutes. Cool fully before slicing. Hard red needs time to set. Check internal temp for 200℉
Notes
-
-
Notes & Tips
-
Watch the dough, not the clock.
Fermentation time will vary based on room temperature, starter strength, and whether your flour is freshly milled. Look for a dough that’s airy, elastic, and has risen about 50–70% during bulk. -
Freshly milled hard red absorbs more water.
If your dough feels stiff early on, give it time. The bran needs longer to hydrate. A slightly tacky dough will bake up softer than one that’s too firm. -
Autolyse matters with whole grain.
Don’t skip it. Allowing the flour and water to rest helps soften the bran, improves extensibility, and supports better rise and crumb. -
Pan size affects loaf height.
Smaller pans will give you a taller loaf, while wider pans create a lower, sandwich-style profile. Adjust proof time accordingly. -
Cold proofing enhances flavor.
An overnight rest in the refrigerator deepens the wheat flavor and makes scoring and baking more forgiving the next day. -
Tent if browning too quickly.
Hard red wheat naturally bakes darker. If the top is browning before the loaf is finished, loosely cover with foil for the final portion of the bake. -
Let it cool completely before slicing.
Cutting too soon can compress the crumb and make the loaf seem gummy. Cooling allows the structure to set properly. -
This loaf freezes beautifully.
Slice once cooled, freeze in an airtight bag, and toast straight from frozen for fresh bread any time.
-
Watch the dough, not the clock.
-
The Reward of Homemade Buns
There’s something magical about making bread from scratch, especially these little slider buns. As they rise and bake, your kitchen fills with the comforting, nutty aroma of kamut and the sweet, buttery scent of fresh dough. Pulling a warm bun from the oven, golden on top and soft inside, feels like a small victory—one that you can taste.
The reward isn’t just in how they look or taste, though that alone is enough to make anyone smile. It’s in the simple pleasure of gathering around the table, sandwich in hand, watching little fingers tear apart the buns for the first time. It’s in knowing that these buns are wholesome, made with care, and free from preservatives.
Every batch is a little celebration: a cozy reminder that homemade food, even something as small as a slider bun, has the power to bring warmth, connection, and joy to your day.