Homemade Cinnamon Crispy Squares
If you grew up with a love for that sweet, crunchy cinnamon cereal (you know the one 😉), then you’re going to love this homemade version. It’s crisp, full of warm cinnamon flavor, and made with freshly milled flour so it actually has nutrients in it — unlike the boxed stuff.
This recipe is one of those fun little kitchen projects that doesn’t take much time but feels extra special. Your house will smell like cinnamon rolls while it bakes, and once it cools, you’ll have a big jar of crunchy squares that your kids can eat by the handful or pour into a bowl with milk. Honestly, it’s one of those things that disappears faster than I ever expect.
I use soft white wheat when I want a lighter, more tender crunch, and hard white wheat when I want it sturdier with more bite. Either works beautifully — so use what you have on hand.

Why You’ll Love It
Better than store-bought – No weird additives, just simple ingredients.
Kid-friendly (and adult-approved) – Tastes like the classic, but with real flavor.
Freshly milled flour magic – Nutritious, flavorful, and wholesome.
Smells like a cinnamon roll – Honestly, that’s reason enough.
Ingredient Breakdown
- Freshly Milled Wheat Flour – I recommend soft white wheat if you want lighter, delicate squares and hard white wheat if you want crunchier, sturdier ones. Both are delicious!
- Sugar – Regular cane sugar keeps things classic, but coconut sugar adds a deeper, caramel-like flavor.
- Cinnamon – The star of the show! Go for a good-quality cinnamon since it shines in this recipe.
- Butter – Adds richness and that toasty, melt-in-your-mouth flavor. You can swap with coconut oil if dairy-free.
- Baking Powder – Gives just a little lift, so the squares don’t bake up rock-hard.
- Milk – Brings the dough together. Any kind works: dairy or non-dairy.
- Vanilla Extract – Adds warmth and rounds out the cinnamon-sugar flavor.
What You’ll Need
Flour
2 cups freshly milled soft white or hard white wheat flour

Equipment
Mixer, pastry brush, kitchen scale
DAIRY
Warm milk, softened butter
additional essentials
sugar, salt, cinnamon, baking powder
Step 1: Preheat the oven
- Set to 350°F and line two baking sheets with parchment paper.
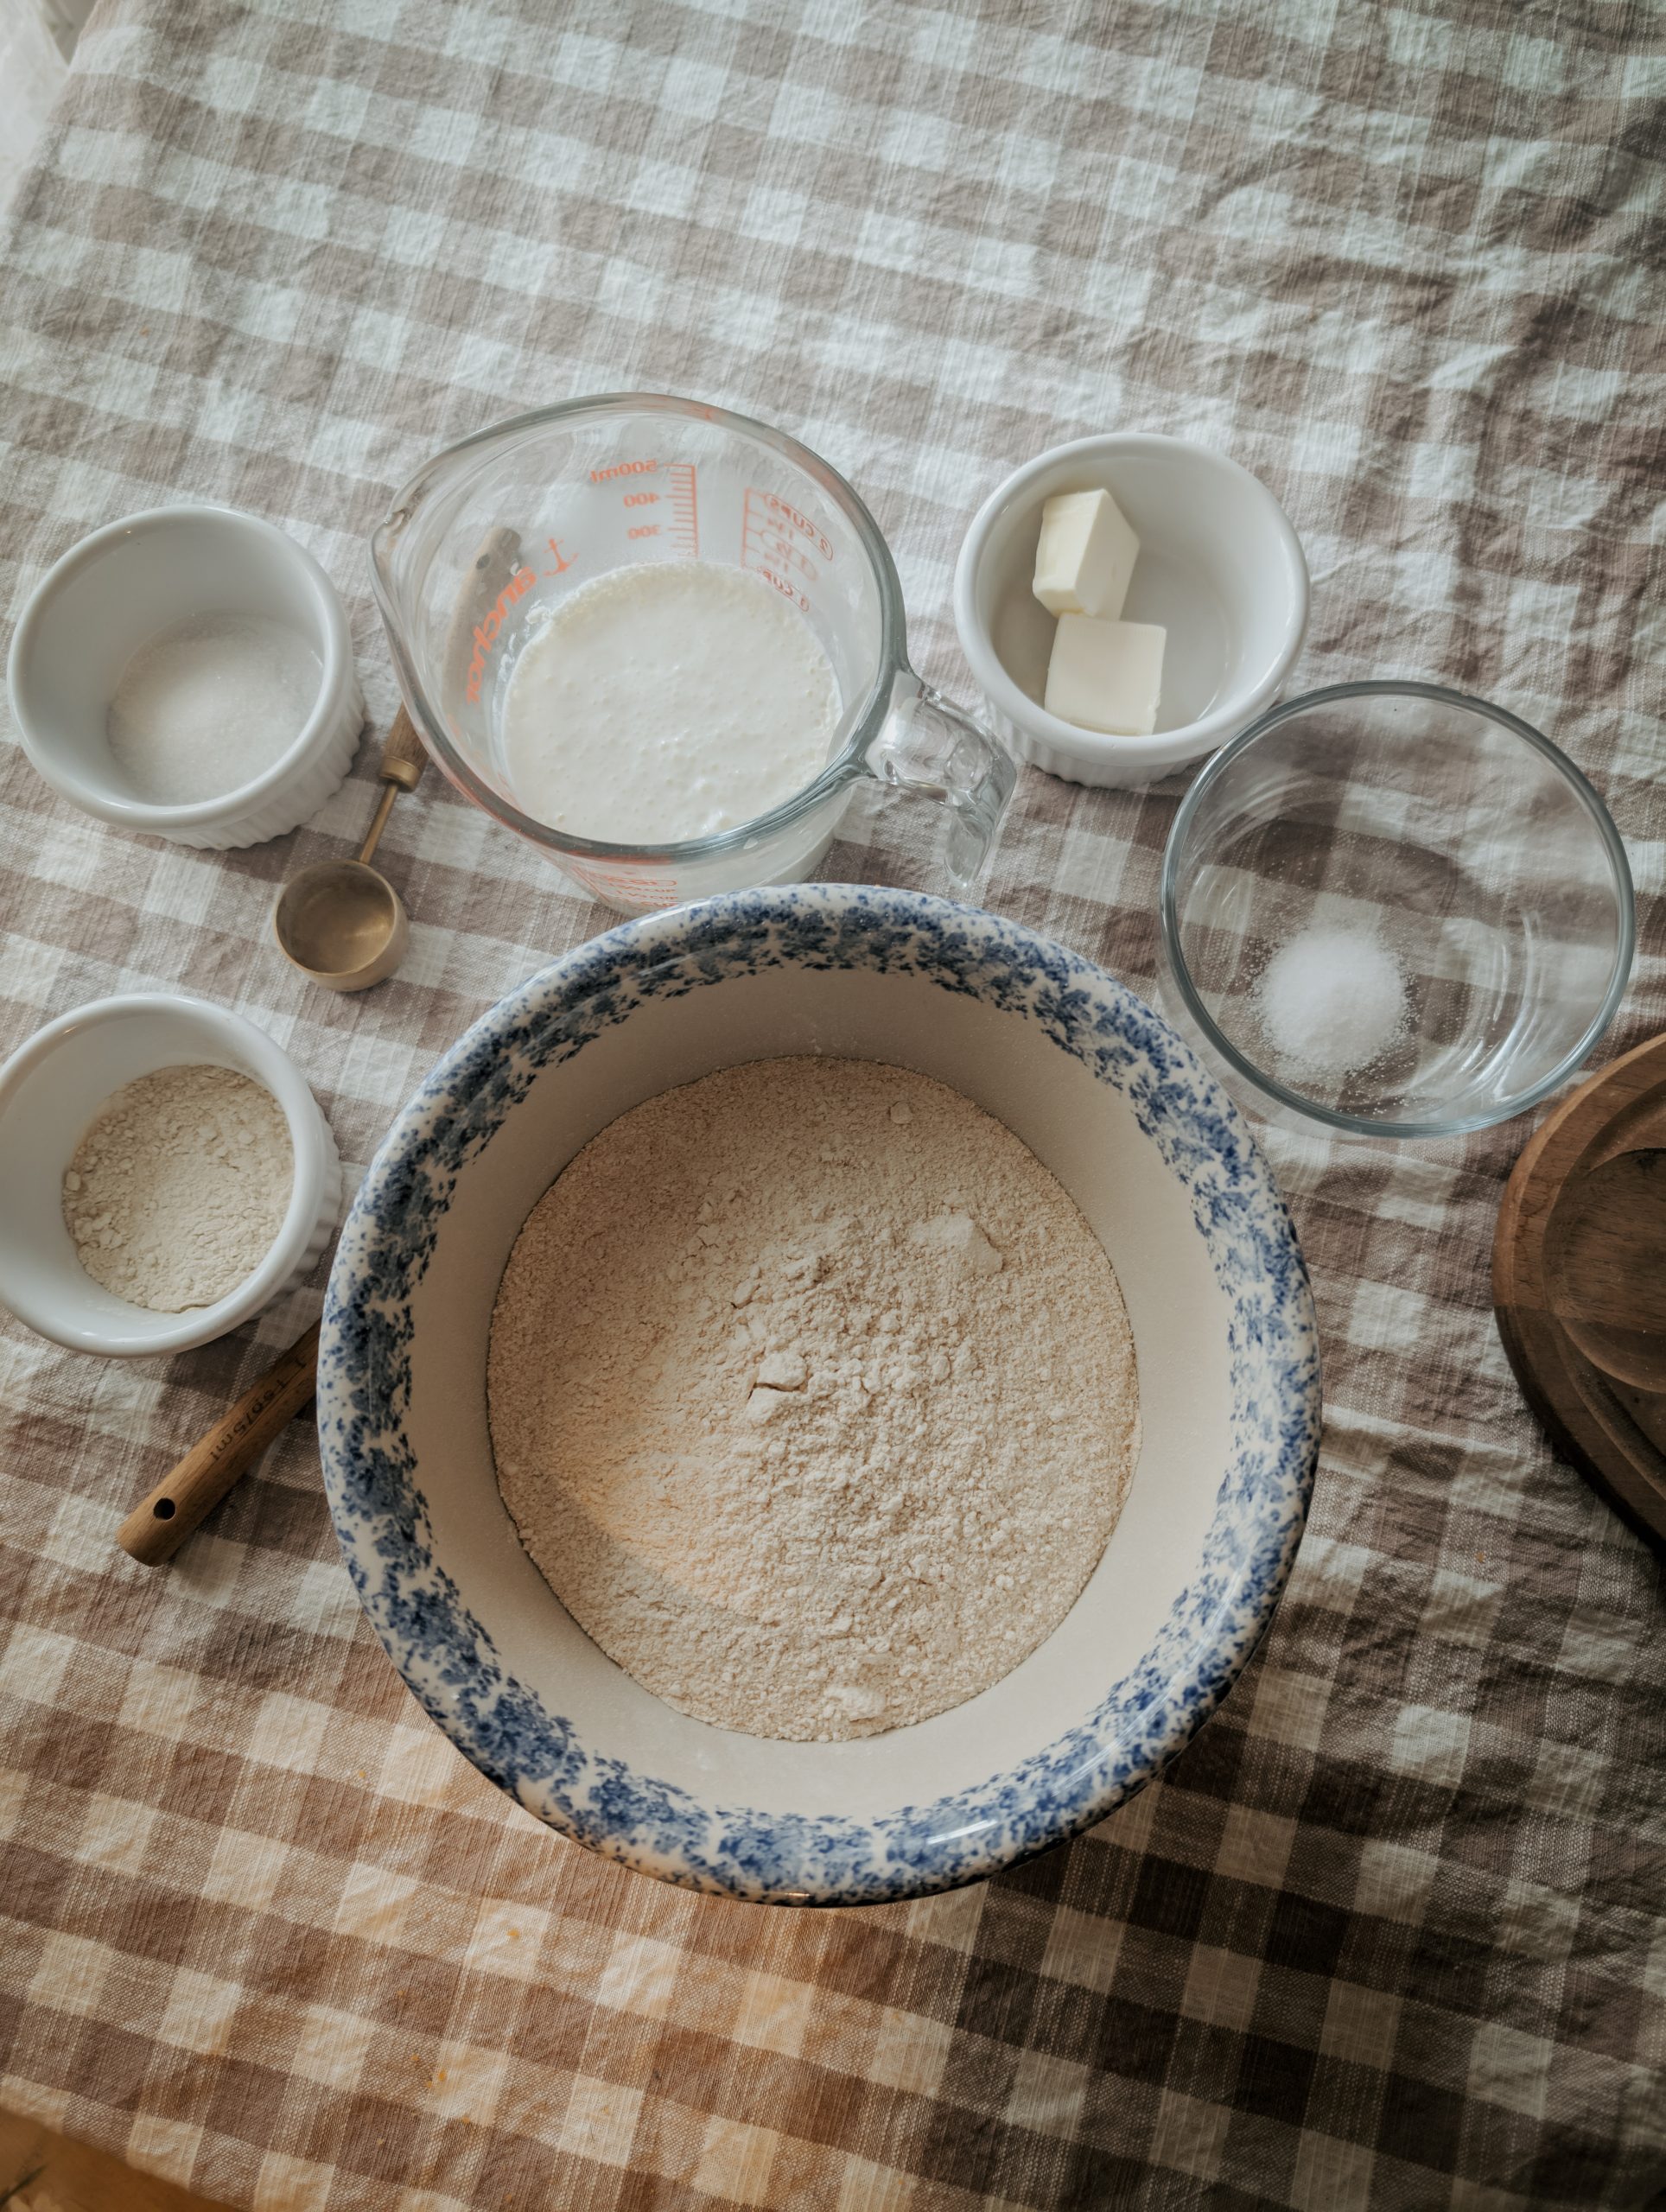
Step 2: Combine dry ingredients
- Add the flour, salt, baking powder, sugar, and cinnamon to the bowl of your food processor. Pulse a few times to mix
Step 3: Add the butter
- Cut the softened butter into chunks and add it to the food processor. Pulse until the mixture looks sandy or crumbly.
Step 4: Add wet ingredients
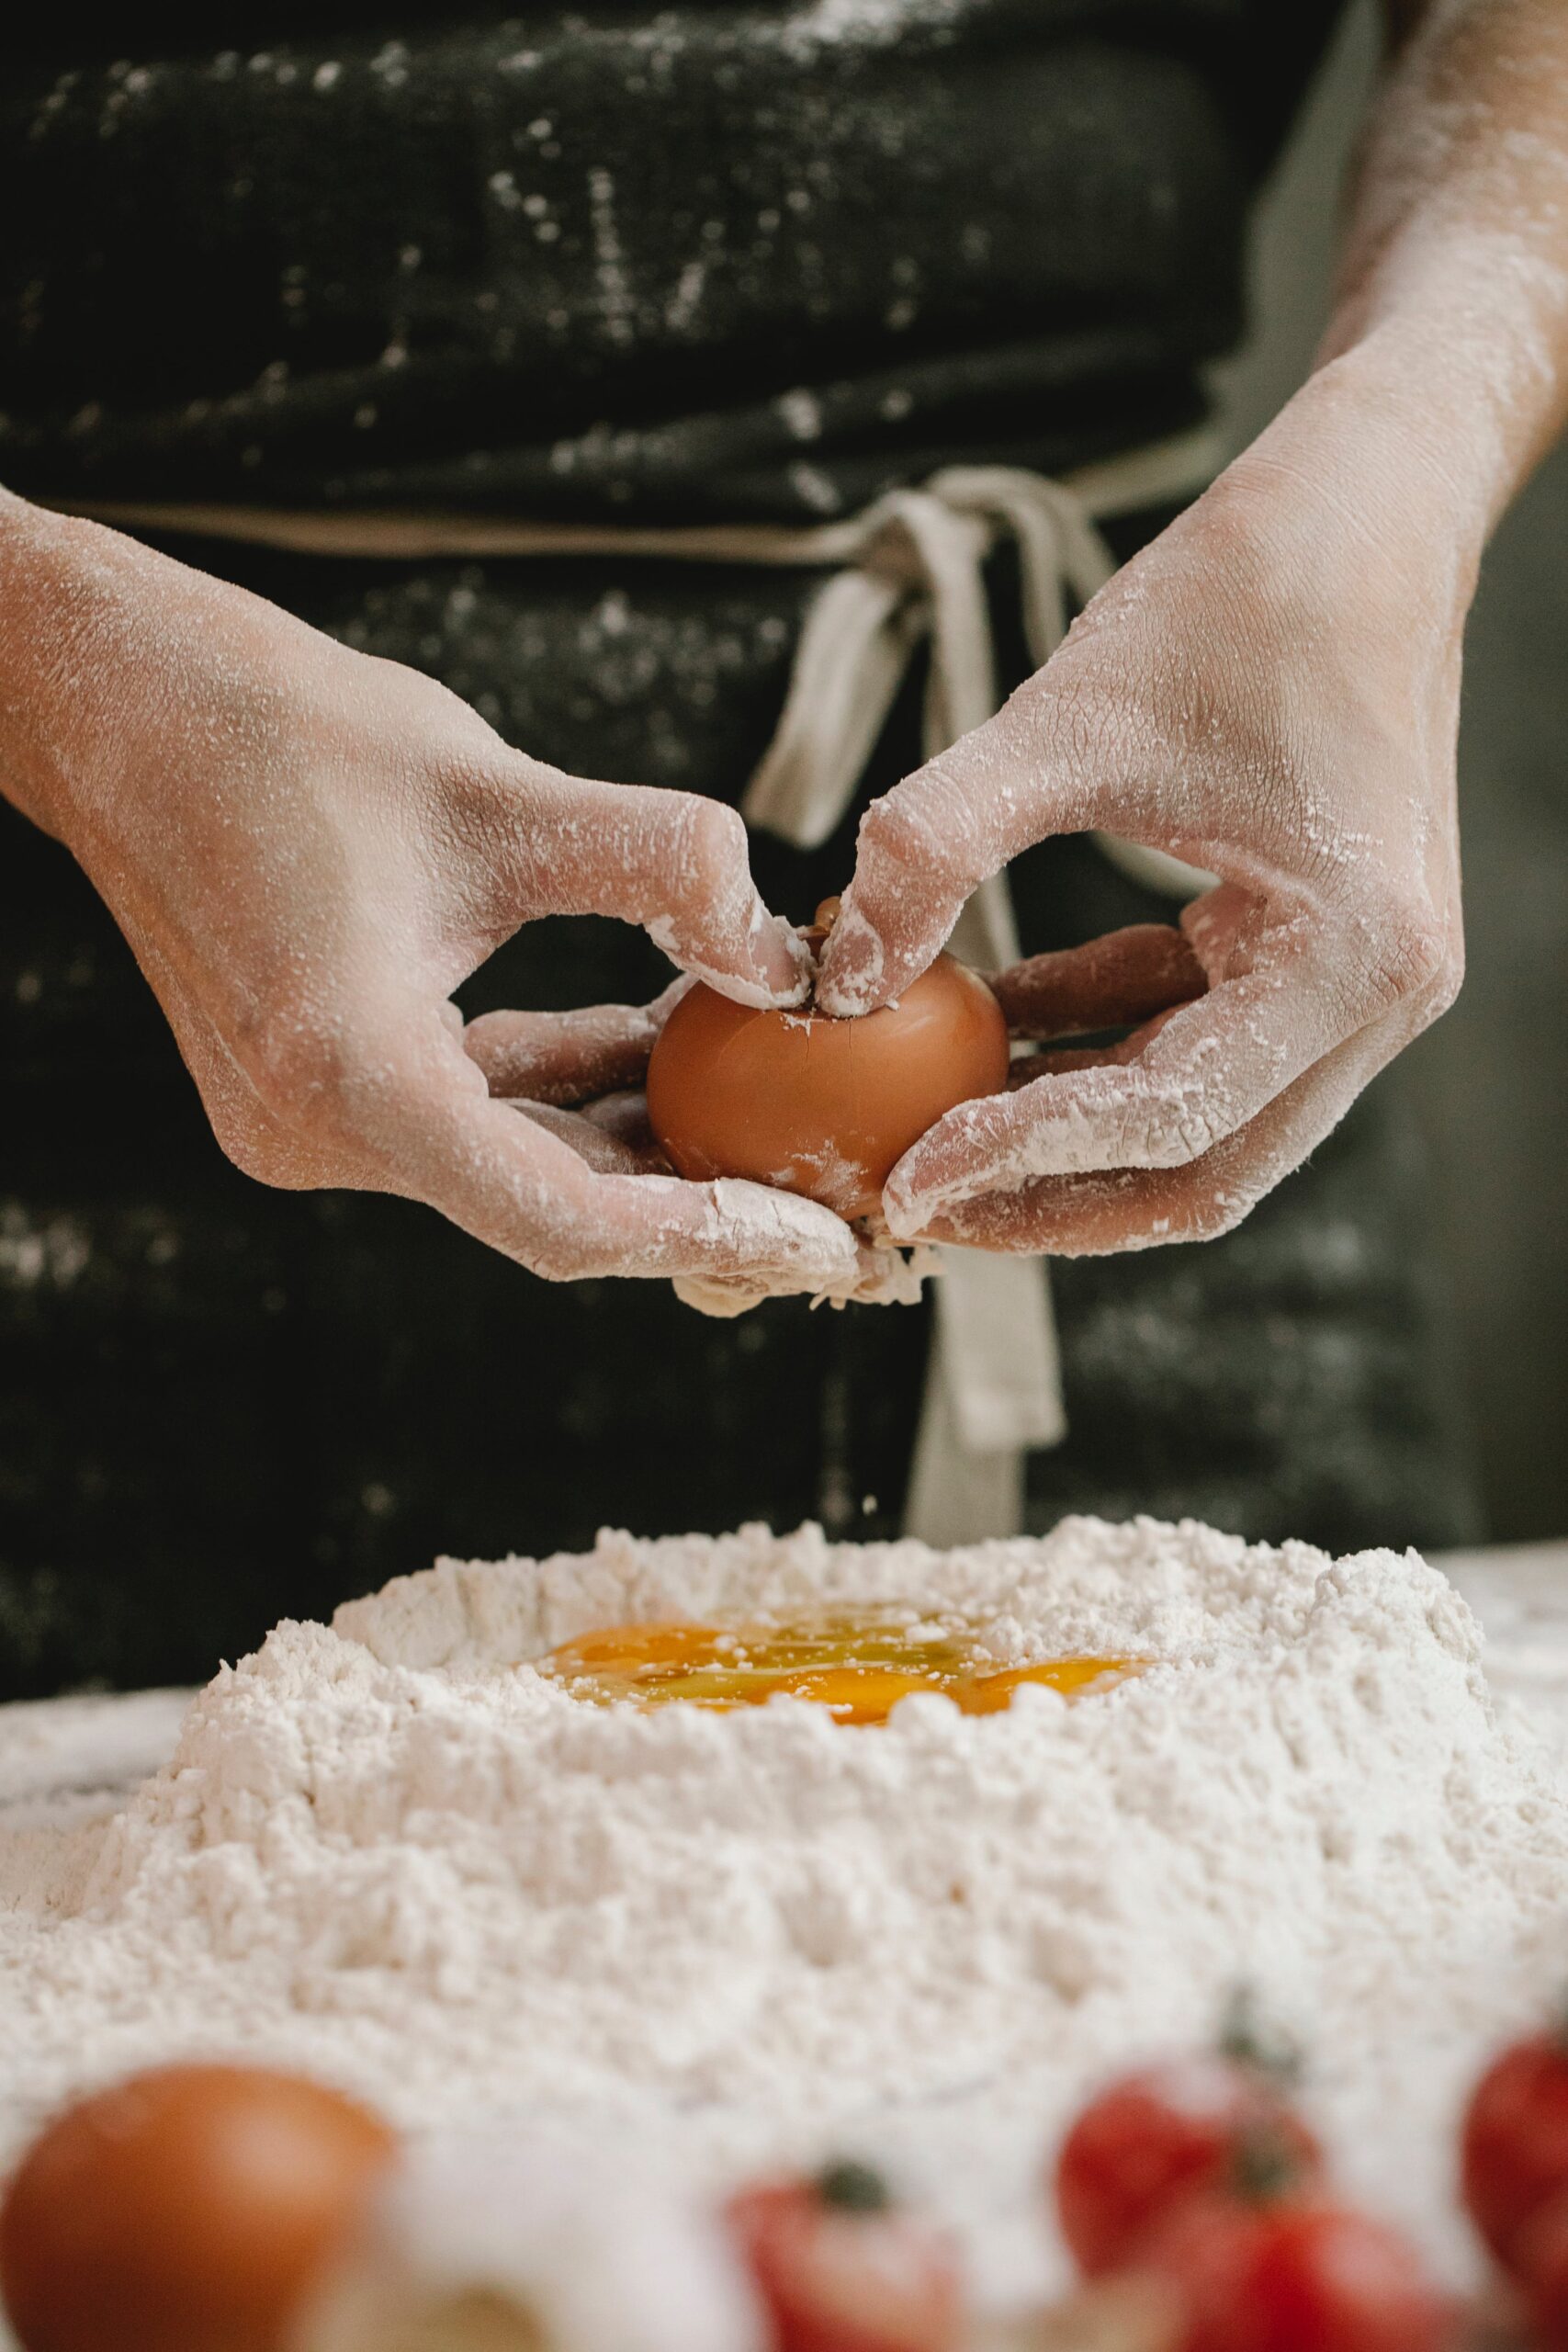
- Pour in the vanilla and 2–3 tablespoons of milk. Pulse just until the dough starts to come together. If it still looks dry, add the remaining tablespoon of milk. Don’t overmix — it should form a soft, workable dough.
Step 5: Roll out thin
- Divide the dough in half. Place one portion between two sheets of parchment paper and roll it out to about 1/16″ thick. Repeat with the second half.
Step 6: Cut into squares
- Peel off the top sheet of parchment and use a pizza cutter or knife to slice the dough into small cereal-sized squares. No need to separate them before baking.
Step 7: Top with cinnamon sugar
- Brush the dough lightly with melted butter and sprinkle the cinnamon-sugar mixture evenly over the surface.
Step 8: Bake
- Transfer the parchment-lined dough to a baking sheet and bake for 10–12 minutes, or until golden and crisp around the edges. Keep an eye on them — thin dough bakes quickly!
Step 9: Cool completely
- Let the sheet cool fully, then gently break apart the squares. They’ll crisp up even more as they cool.

Heritage Sourdough Loaf (two-pan loaf method) 2 Loaves
Equipment
- Grain mill if using whole berries
- Digital kitchen scale
- Measuring cups and spoons
- Mixing bowl or stand mixer
- Dough hook or sturdy spoon
- Clean kitchen towel or plastic wrap
- Cooling rack
Ingredients
- 342 g freshly milled hard red wheat flour 38%
- 558 g all-purpose flour 62%
- 280 g active sourdough starter 100% hydration
- 500-525 g water
- 18 g fine sea salt
- 8-12 g vital wheat gluten
Instructions
Autolyse for softness:
Autolyse (don’t skip for lean dough) Mix all flour + 470 g water. Rest 45–60 minutes. This is what gives you softness without fat or sugar.
Mix:
- Add: Starter, remaining water (as needed), and vital wheat gluten if using. Mix until cohesive and elastic. Rest 20 minutes, then add salt and mix until smooth.
Bulk Fermentation:
- 6-12 hours bulk fermentation. Do 3-4 sets of stretch and folds in first 2 hours. Bulk target: 50% rise, bubbles along edges, dough feels aerated but still strong. It will not look like plain flour. Do not push to double.
Pre-Shape:
- Divide into two 790-820g pieces. Gently degas. Shape and create tension. Let rest for 20-30 minutes.
Final Shape
- Final shape with light tension. Don't over-tighten because hard red will fight you. Put into loaf pan and refrigerate for 8-24 hours.
Bake:
- Preheat 500℉. Create steam in oven. Score and mist prior to putting into oven. Place lid on top. Bake for 30 minutes. Remove lid after the 30 minutes and cook at 425℉ for 15 minutes. Cool fully before slicing. Hard red needs time to set. Check internal temp for 200℉
Notes
-
-
Notes & Tips
-
Watch the dough, not the clock.
Fermentation time will vary based on room temperature, starter strength, and whether your flour is freshly milled. Look for a dough that’s airy, elastic, and has risen about 50–70% during bulk. -
Freshly milled hard red absorbs more water.
If your dough feels stiff early on, give it time. The bran needs longer to hydrate. A slightly tacky dough will bake up softer than one that’s too firm. -
Autolyse matters with whole grain.
Don’t skip it. Allowing the flour and water to rest helps soften the bran, improves extensibility, and supports better rise and crumb. -
Pan size affects loaf height.
Smaller pans will give you a taller loaf, while wider pans create a lower, sandwich-style profile. Adjust proof time accordingly. -
Cold proofing enhances flavor.
An overnight rest in the refrigerator deepens the wheat flavor and makes scoring and baking more forgiving the next day. -
Tent if browning too quickly.
Hard red wheat naturally bakes darker. If the top is browning before the loaf is finished, loosely cover with foil for the final portion of the bake. -
Let it cool completely before slicing.
Cutting too soon can compress the crumb and make the loaf seem gummy. Cooling allows the structure to set properly. -
This loaf freezes beautifully.
Slice once cooled, freeze in an airtight bag, and toast straight from frozen for fresh bread any time.
-
Watch the dough, not the clock.
-
Recipe FAQ
Can I use store-bought flour instead of freshly milled?
Yes! All-purpose flour works too, but you’ll miss out on the extra flavor and nutrition from freshly milled wheat.
Do they stay crunchy in milk?
Yes — especially if you use hard white wheat. They’ll hold up for a good while without turning mushy.
Can I double the recipe?
Definitely. Just bake in batches to avoid overcrowding the pan.
Can I make them less sweet?
Yes — reduce the sugar in the dough slightly, but keep the topping for that signature cinnamon-sugar flavor.
How to Enjoy Golden Cinnamon Squares
- With a splash of cold milk (classic cereal style).
- By the handful as a crunchy snack.
- Sprinkled on top of yogurt with fruit.
- Used as a topping for ice cream or pudding.