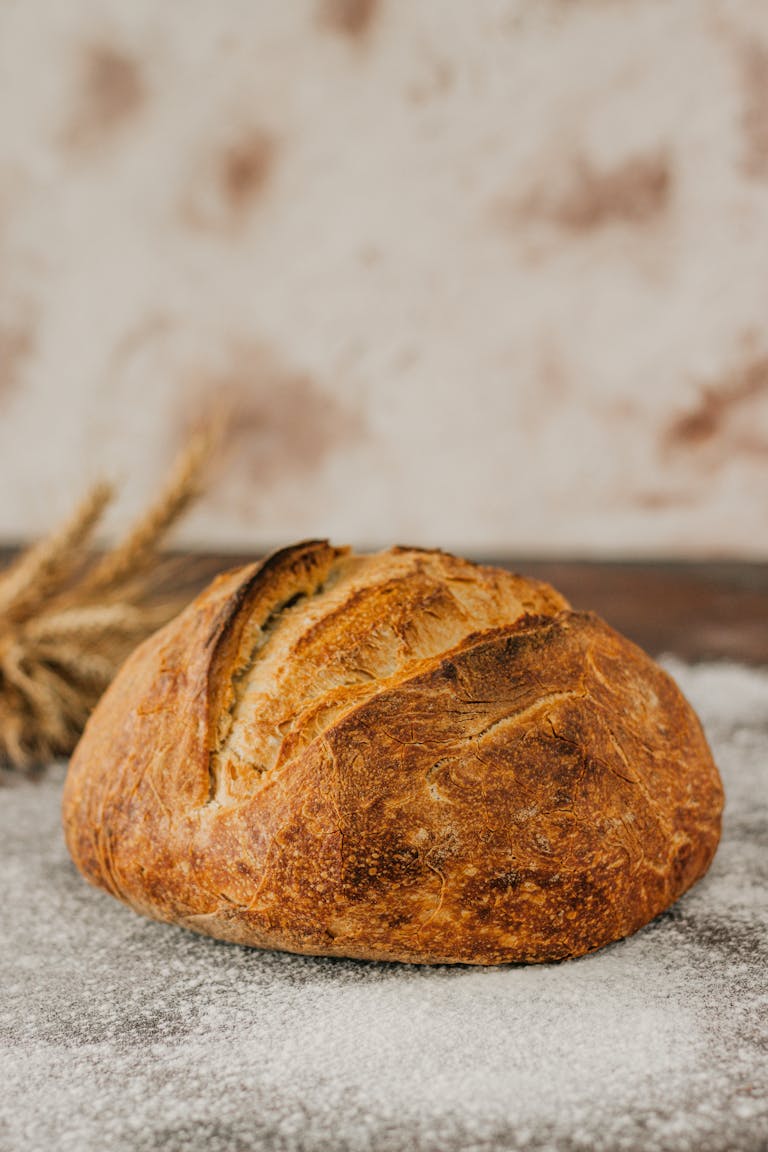
Heritage Sourdough Loaf
There’s something grounding about baking a simple loaf of sourdough in a pan. No fancy shaping, no chasing perfection — just good grain, slow fermentation, and a loaf meant to be sliced, shared, and eaten daily.
This Heritage Loaf Pan Sourdough is my answer to everyday bread made the old way. It’s inspired by traditional methods, but adapted for real life: busy schedules, kids at the table, and a deep love for freshly milled grain.
This loaf is sturdy yet tender, flavorful without being sour, and designed to bake beautifully in a loaf pan — perfect for sandwiches, toast, or warm slices with butter and honey.
Why You’ll Love This Bread
- Pan-friendly & dependable – No guesswork with shaping
- Balanced crumb – Soft enough for sandwiches, hearty enough to feel nourishing
- Freshly milled grain forward – Flavor you can’t get from store-bought flour
- Slow, intentional process – Because good bread shouldn’t be rushed
What Makes It a “Heritage” Loaf?
To me, heritage means honoring how bread was made before shortcuts were common. This loaf focuses on:
- Freshly milled or thoughtfully chosen flour
- Natural fermentation with sourdough starter
- Gentle handling instead of heavy kneading
- Time doing the work — not additives
It’s not about perfection. It’s about returning to the roots of real bread.
Ingredient Breakdown
Here’s what makes this loaf special:
Hard Red Wheat Flour
Hard red wheat is the backbone of this heritage loaf. It’s high in protein and naturally strong, which helps support fermentation and structure in pan-baked sourdough. When freshly milled, hard red brings a deeper, heartier wheat flavor and a slightly darker crumb that feels nourishing and old-world.
Because freshly milled hard red absorbs more water and ferments more actively than store-bought flour, this loaf benefits from a longer autolyse and gentle handling.
Water
Water hydrates the flour and allows gluten to develop naturally. With freshly milled hard red, proper hydration is especially important — too little water can lead to a dense crumb, while adequate hydration helps soften the bran and improve extensibility.
Room-temperature water keeps fermentation steady and predictable.
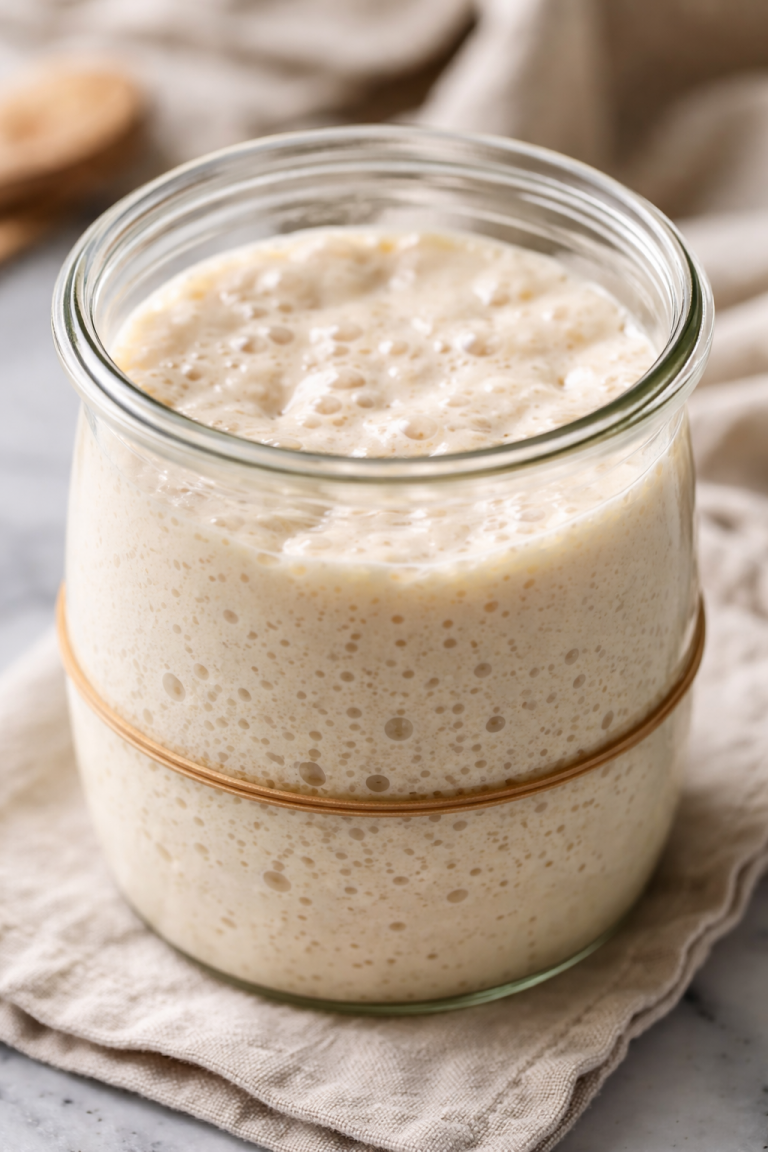
Sourdough Starter
This loaf relies on an active sourdough starter for natural leavening. The starter adds mild tang, strengthens gluten over time, and improves digestibility — especially important when baking with whole grain, freshly milled flour.
A well-fed starter ensures good rise without overpowering sourness.
Salt
Salt enhances flavor while also strengthening gluten and controlling fermentation speed. With hard red wheat, salt helps balance the robust wheat flavor and supports a cohesive dough structure.
Vital Wheat Gluten (Optional)
Although hard red wheat is naturally high in protein, freshly milled flour can still benefit from a small amount of vital wheat gluten. It reinforces structure, improves oven spring, and helps create a taller, more uniform loaf in a pan.
This is especially helpful if you’re newer to baking with freshly milled grain or want extra reliability.
What You’ll Need
Flour
freshly milled red hard wheat flour, organic All-Purpose Flour

Equipment
8½ x 5½-inch loaf pan, Kitchen scale, Mixing bowl
DAIRY
no dairy needed
additional essentials
sourdough starter, salt,
Step 1: Mix & Autolyse:
In a large bowl, mix the flour and water until no dry bits remain. Cover and let rest for 30–60 minutes. This allows the flour to fully hydrate and jumpstarts gluten development.
Step 2: Add Starter & Salt:
Add the sourdough starter and salt. Mix by hand until fully incorporated. The dough will feel slightly tacky but cohesive.
Step 3: Bulk Fermentation
Cover and let rise at room temperature for 6–12 hours, performing 2–3 sets of stretch-and-folds during the first 90 minutes. Please note that every household bulk fermentation time is different. I have had where my bulk fermentation took 12 hours. I use to go by time and now I go by how it looks and feels.
You’re looking for:
- A 50–70% rise
- Bubbles forming along the sides
- Dough that feels lighter and aerated
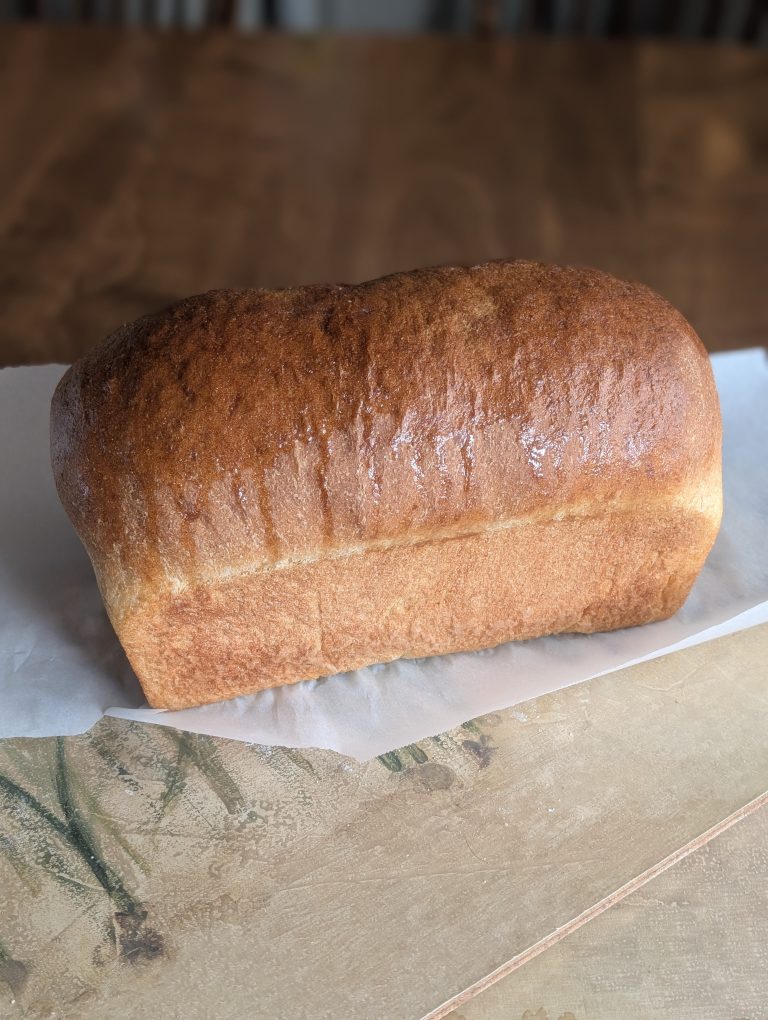
Step 4: Shape & Pan
Gently shape the dough into a log and place it seam-side down into a lightly greased loaf pan.
Step 5: Final Proof:
2-3 hours room temperature with finger poke springs back or proof overnight in refrigerate and bake next day. This provides a deeper and golden crust.
Step 6: Bake
I use the two loaf pan method. I add a pan of water and heat oven to 500 degrees. Score loaf and mist with water. Add top loaf pan and place into oven. 30 minutes at 500 degrees and 15 minutes at 425 degrees. Check internal temperature. It should be 200 degrees.
Recipe FAQ

Heritage Sourdough Loaf (two-pan loaf method) 2 Loaves
Equipment
- Grain mill if using whole berries
- Digital kitchen scale
- Measuring cups and spoons
- Mixing bowl or stand mixer
- Dough hook or sturdy spoon
- Clean kitchen towel or plastic wrap
- Cooling rack
Ingredients
- 342 g freshly milled hard red wheat flour 38%
- 558 g all-purpose flour 62%
- 280 g active sourdough starter 100% hydration
- 500-525 g water
- 18 g fine sea salt
- 8-12 g vital wheat gluten
Instructions
Autolyse for softness:
Autolyse (don’t skip for lean dough) Mix all flour + 470 g water. Rest 45–60 minutes. This is what gives you softness without fat or sugar.
Mix:
- Add: Starter, remaining water (as needed), and vital wheat gluten if using. Mix until cohesive and elastic. Rest 20 minutes, then add salt and mix until smooth.
Bulk Fermentation:
- 6-12 hours bulk fermentation. Do 3-4 sets of stretch and folds in first 2 hours. Bulk target: 50% rise, bubbles along edges, dough feels aerated but still strong. It will not look like plain flour. Do not push to double.
Pre-Shape:
- Divide into two 790-820g pieces. Gently degas. Shape and create tension. Let rest for 20-30 minutes.
Final Shape
- Final shape with light tension. Don't over-tighten because hard red will fight you. Put into loaf pan and refrigerate for 8-24 hours.
Bake:
- Preheat 500℉. Create steam in oven. Score and mist prior to putting into oven. Place lid on top. Bake for 30 minutes. Remove lid after the 30 minutes and cook at 425℉ for 15 minutes. Cool fully before slicing. Hard red needs time to set. Check internal temp for 200℉
Notes
-
-
Notes & Tips
-
Watch the dough, not the clock.
Fermentation time will vary based on room temperature, starter strength, and whether your flour is freshly milled. Look for a dough that’s airy, elastic, and has risen about 50–70% during bulk. -
Freshly milled hard red absorbs more water.
If your dough feels stiff early on, give it time. The bran needs longer to hydrate. A slightly tacky dough will bake up softer than one that’s too firm. -
Autolyse matters with whole grain.
Don’t skip it. Allowing the flour and water to rest helps soften the bran, improves extensibility, and supports better rise and crumb. -
Pan size affects loaf height.
Smaller pans will give you a taller loaf, while wider pans create a lower, sandwich-style profile. Adjust proof time accordingly. -
Cold proofing enhances flavor.
An overnight rest in the refrigerator deepens the wheat flavor and makes scoring and baking more forgiving the next day. -
Tent if browning too quickly.
Hard red wheat naturally bakes darker. If the top is browning before the loaf is finished, loosely cover with foil for the final portion of the bake. -
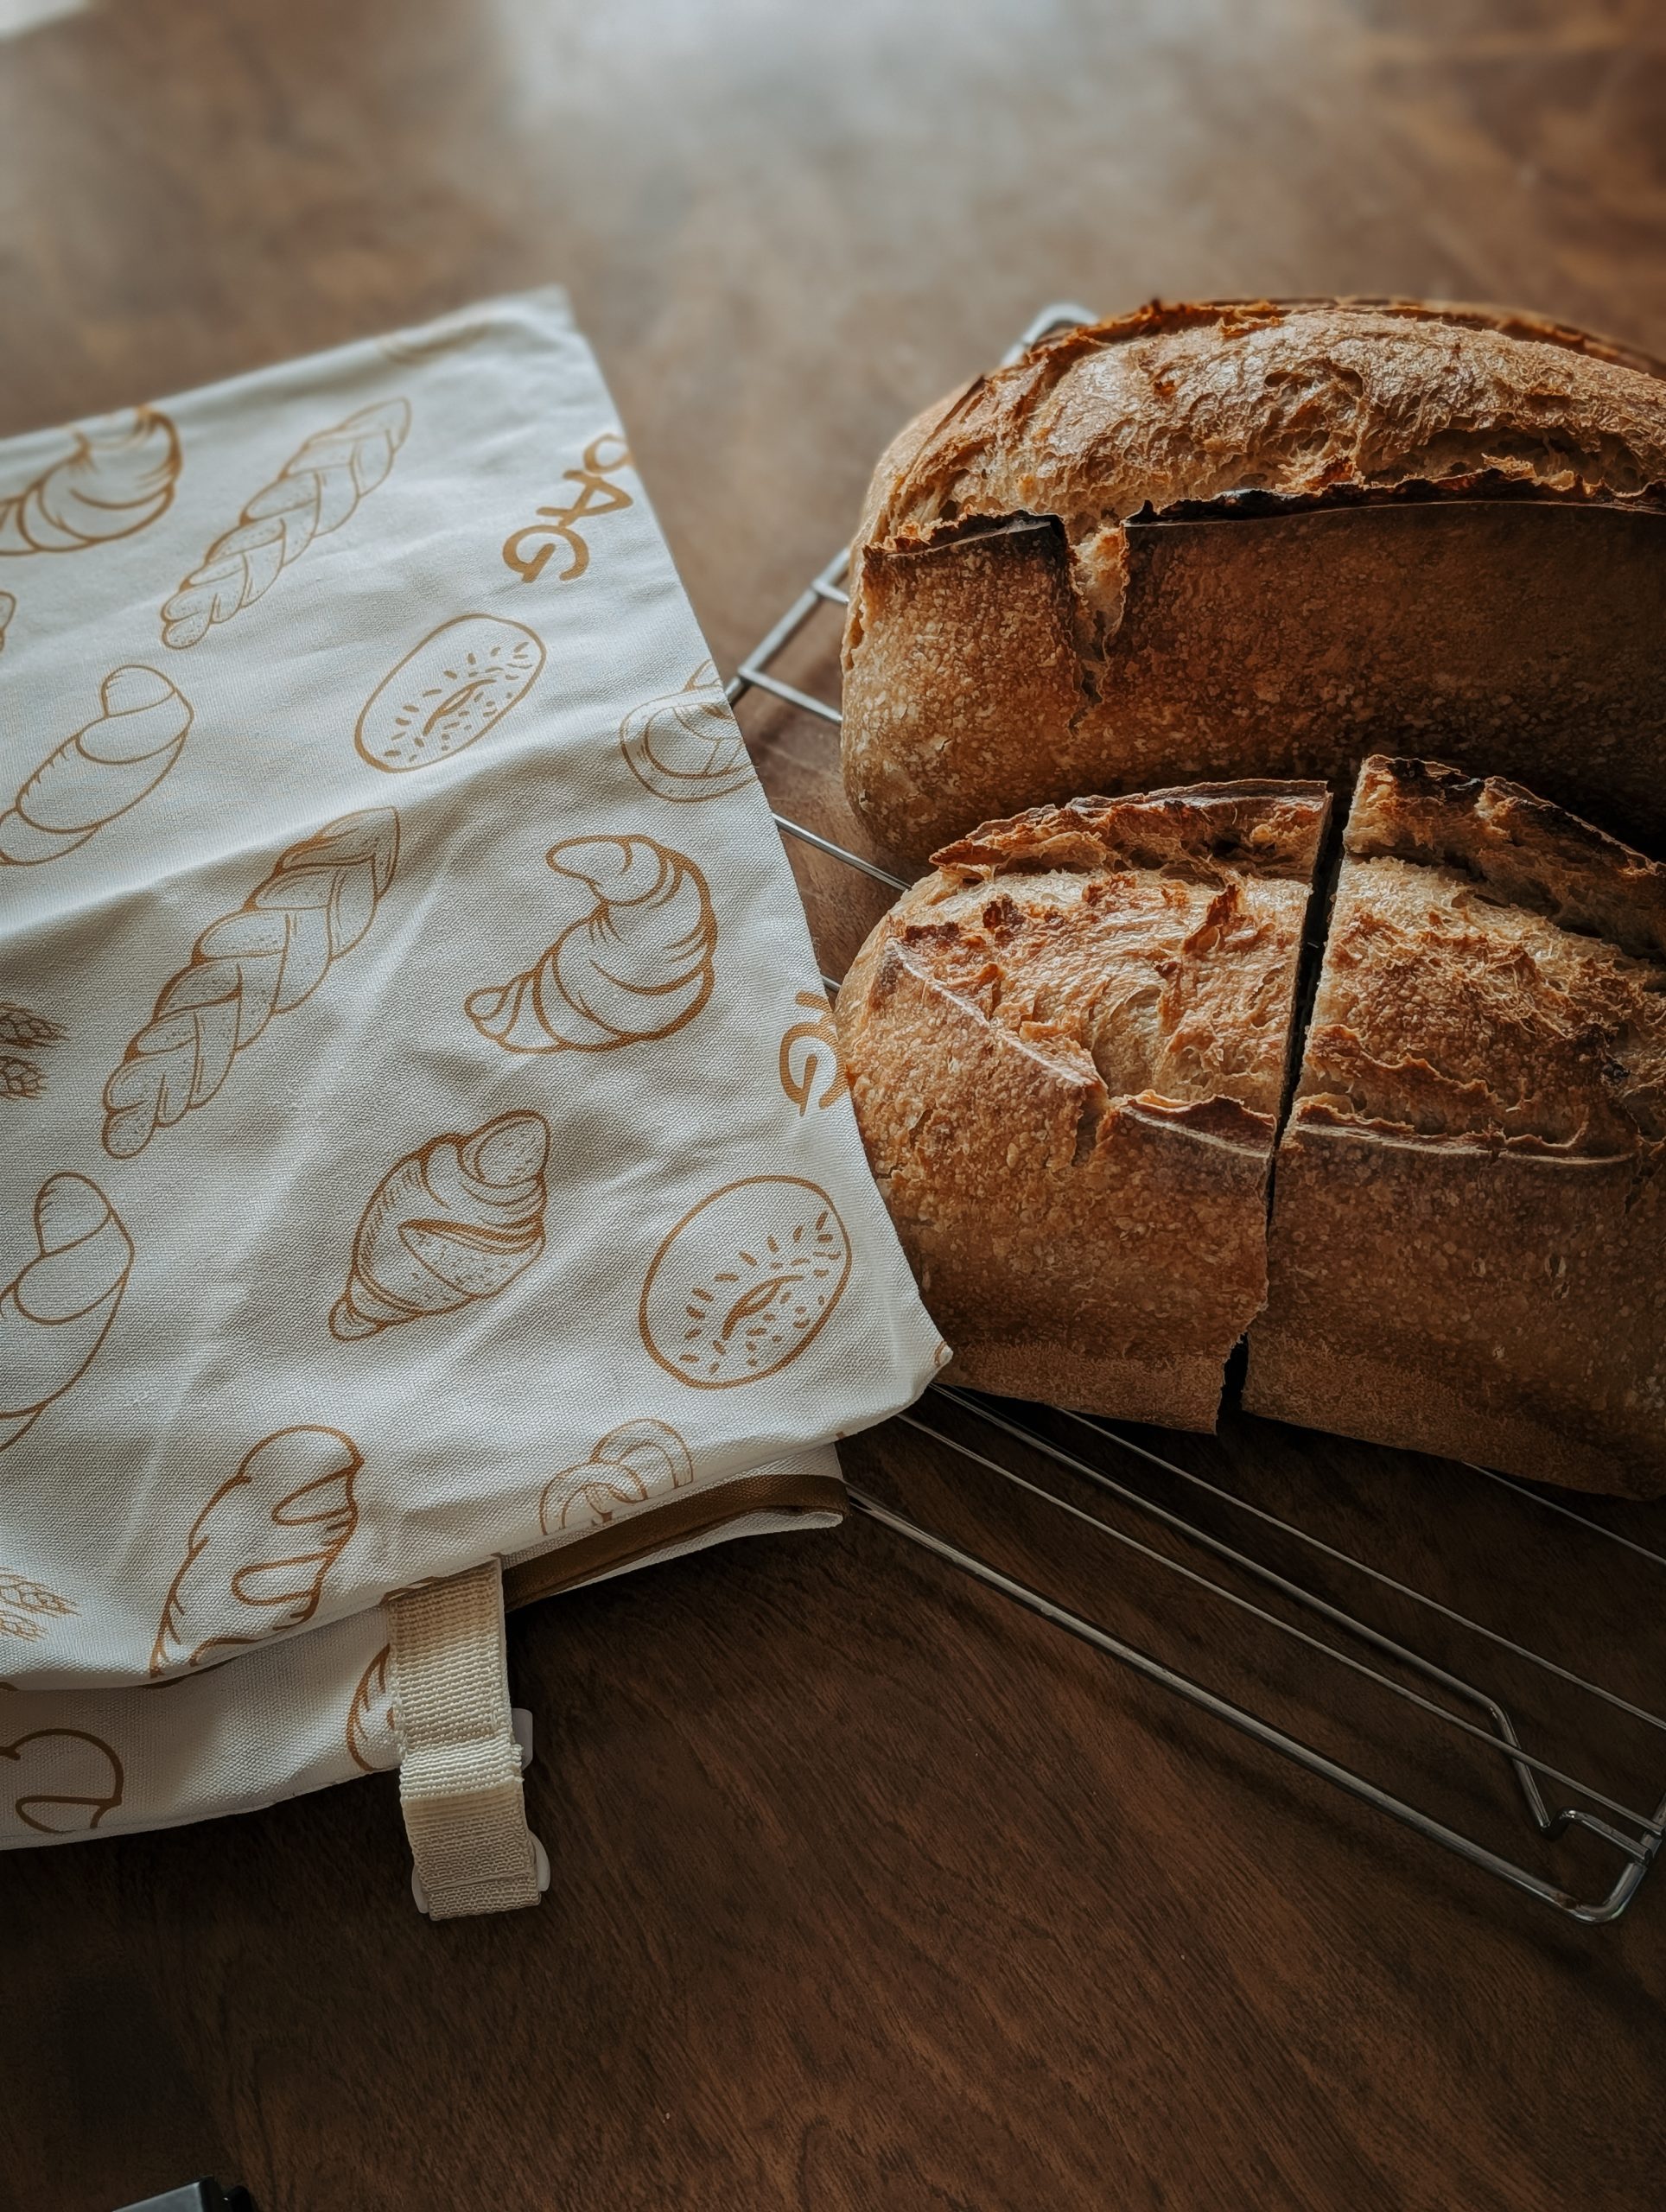
Let it cool completely before slicing.
Cutting too soon can compress the crumb and make the loaf seem gummy. Cooling allows the structure to set properly. -
This loaf freezes beautifully.
Slice once cooled, freeze in an airtight bag, and toast straight from frozen for fresh bread any time.
-
Watch the dough, not the clock.
-
How to Enjoy This Sourdough Bread
- This Heritage Loaf is meant to be enjoyed simply and often. It’s everyday bread — nourishing, versatile, and comforting.
- Fresh with butter
A warm slice with good butter lets the flavor of the hard red wheat shine. - Toasted for breakfast
Toast brings out a light nuttiness. Top with honey, jam, or a drizzle of olive oil and sea salt. - Sandwich-ready
The soft yet sturdy crumb makes it perfect for grilled cheese, turkey sandwiches, or school lunches. - Avocado toast or savory spreads
Thick slices hold up well to avocado, eggs, cottage cheese, or hummus. - French toast or bread pudding
Slightly stale slices make incredible French toast thanks to the natural structure of sourdough. - Alongside soups and stews
This loaf pairs beautifully with hearty meals — perfect for dipping and soaking up every last bite. - Straight from the freezer
Slice before freezing and toast straight from frozen for fresh bread anytime.